This blog guides steps to create a Microsoft Flow to Azure AD Connector and how can we assign the permissions to it.
- When you check in the azure AD, you don’t find Azure AD connector.
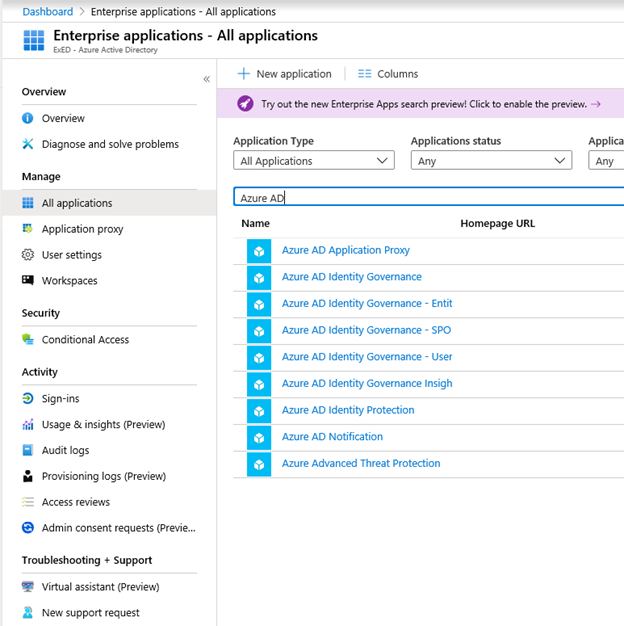
- Open Flow URL and sign in
https://us.flow.microsoft.com/en-us/
- Click on connectors
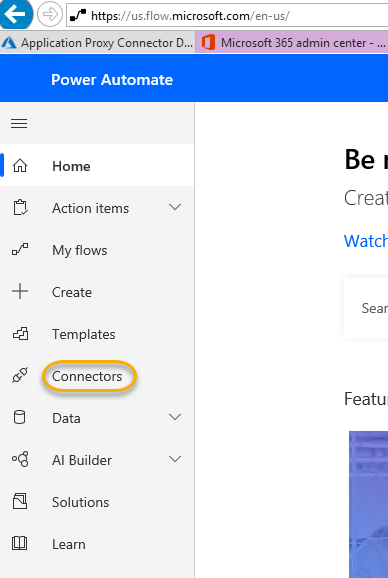
- Now Search “Azure AD”

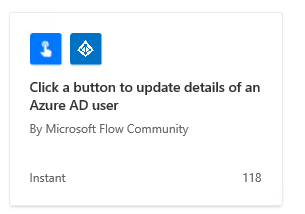
- Click on the Azure AD Connector icon then select one of the options. I selected the following:
- Click on the Sign in on the following screen
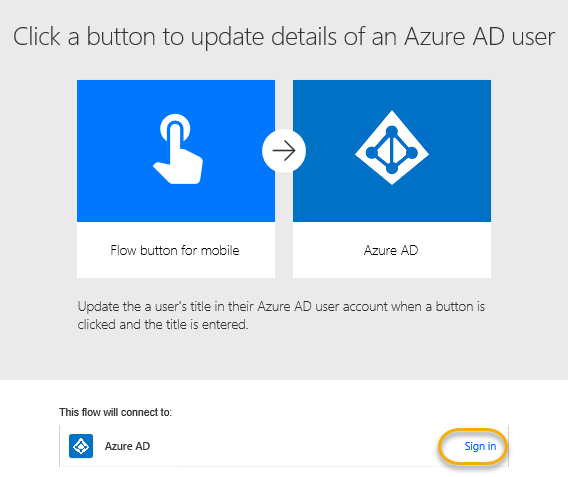
- It will open authentication popup. Login there.
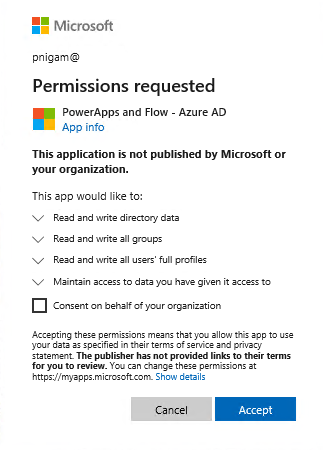
- Once logged in you will see this permission request.
- Click accept here. Do not check the check box.
- Now click continue
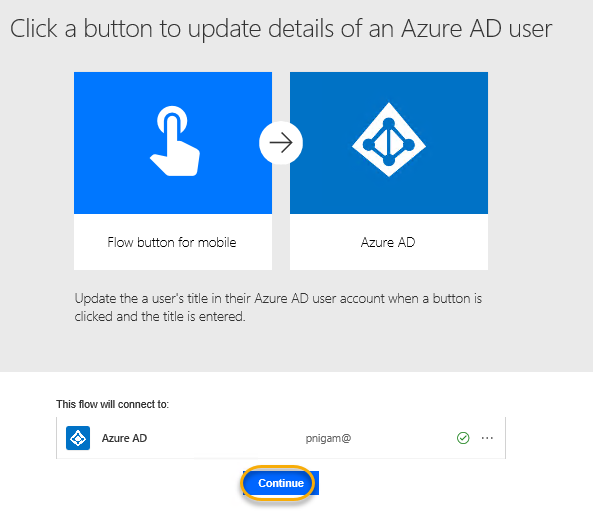
- This should create the Azure AD connector for Flow and PowerApps
- Application id is 2bed6734-1911-40e6-ac44-00d79d70d2bc
- Now we can find it.

-
Now copy the following
Connector Object ID: e33232ae-8683-4f6e-ac1b-1e044831d2df
User Object ID: 857314e3-5ee3-45c7-9088-dxx1xxb022e1
- Login to Graph at
- https://graphexplorer.azurewebsites.net
-
Then accept the permission
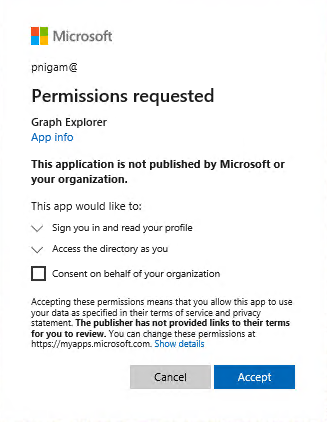
- Browse the URL with Get option
https://graph.windows.net/myorganization/oauth2PermissionGrants
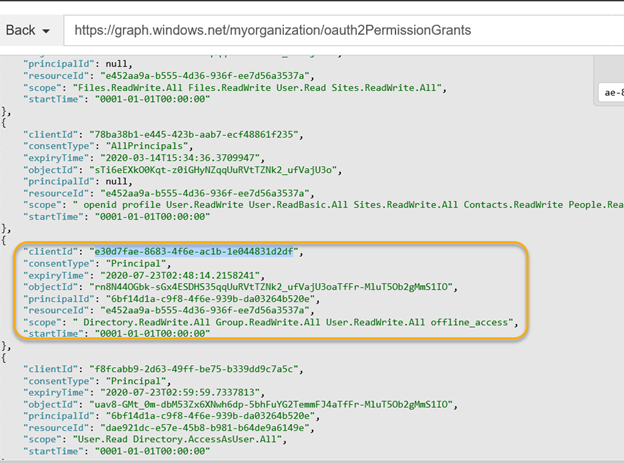
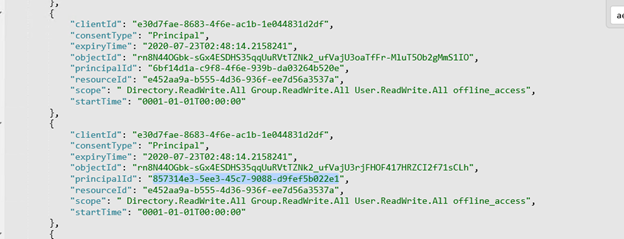
a CTRL+F and search for the Object-ID for the Connector you noted down earlier and copy the entire OAuth grant as shown below. Make sure to note it down.
-
When you’ve copied the OAuth Grant, change the mode from “GET” to “POST”
-
Paste the OAuth grant into the empty window

-
Look for the “PrincipalId”. Replace this value with the Object-ID of the user you noted down before. And then click “Go” to post the OAuth permission grant.
Don’t worry it will not overwrite anything but add another entry so your default entry will remain same.
- Now we will see new entry with the user so this user got the permissions.
 i
i
-
Now we have assigned the following permissions as listed in the Microsoft blog here. https://docs.microsoft.com/en-us/connectors/azuread/
- Group.ReadWrite.All
- User.ReadWrite.All
- Directory.ReadWrite.All
- Group.ReadWrite.All
Prabhat Nigam
Team at Golden Five Consulting
